


7.13.26
What to Know About Installing a Sunshade
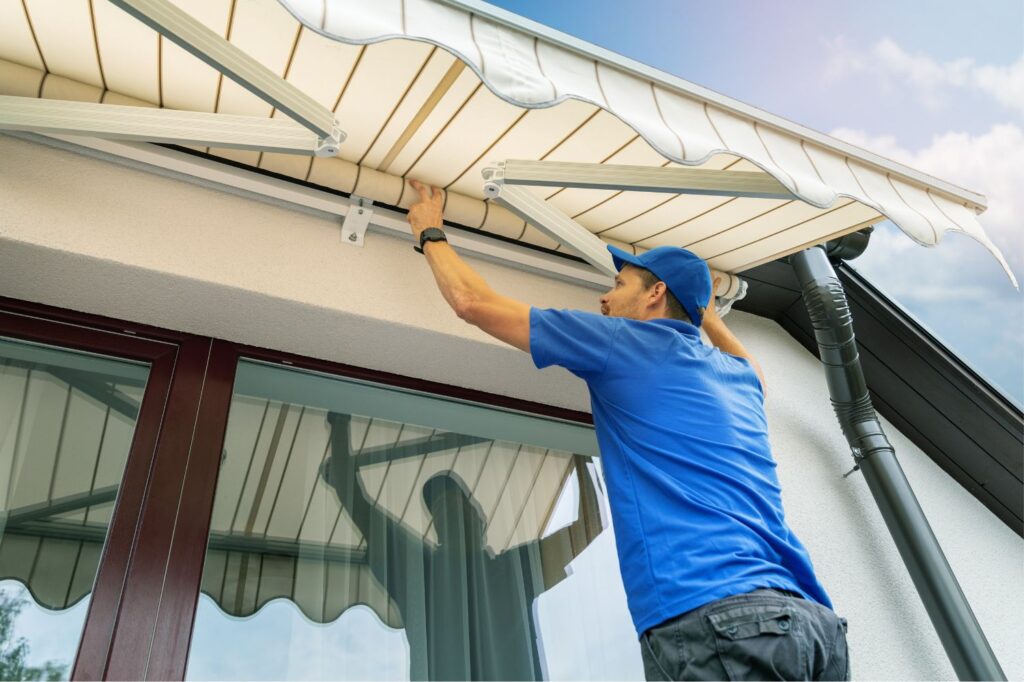

Tips for a safe, secure and long-lasting installation.
If too much sun prevents you from enjoying your outdoor space, a sunshade can be a great solution. There are options in dozens of colors that fit all types of spaces in triangle, square and rectangle shapes. With proper installation, a sunshade can provide years of enjoyment in the shade. Whether you install a sunshade yourself or hire a pro, keep the following things in mind.
Check local and HOA regulations
Depending on its size, a permit may be needed for a sunshade from your local building department. Also, HOAs may have restrictions on what can be installed on the exteriors of homes in the association. Check local regulations and HOA rules before you start a sunshade project.
Stay safe: Look above first and call MISS DIG 811
When choosing a location for your sunshade, take note of any overhead utility lines. Keep yourself and any tools at least 10 feet away from power lines. Metal ladders, some nonmetallic tools and trees can conduct electricity, advises Consumers Energy. Always take precautions to avoid overhead power lines.
Many sunshade installations require the installation of posts. Before digging, contact MISS DIG 811 to ensure you don’t hit any underground utilities. Learn more about MISS DIG 811, a free service that locates buried utility lines.
Choose strong anchor points
When anchoring a sunshade to your home or another structure, it’s key to choose strong anchor points, such as wall studs, roof headers or solid masonry. The anchors need to withstand the tension that keeps the sunshade in place, as well as the force of wind and precipitation.
Vary the height of anchor points
Sunshades are less likely to flap and can more easily shed rain and leaves when there is at least a 1-to-4 slope; many installers use a 1-to-5 slope. To achieve this, vary the height of anchor points. This resource from Tenshon shows how to choose which corners should be high and low.
Placing posts
Posts require careful planning. In Michigan, we have to go further than the general guideline that post hole depth should equal one-third of the post’s height to account for freezing ground. This means going deeper than 42 inches. Also, the larger the sunshade, the deeper the posts need to be. Ask your local building department how deep the posts should be so they don’t heave in freezing weather.
Typically, posts are positioned to lean five to 10 degrees away from the shade. This helps maintain the proper tension and extends the life of the sunshade. Posts may be installed vertically if they are large enough to handle the tension and are well anchored. Consult with an expert installer for guidance on the best post lengths, depth and angle for your site.
When backfilling the post holes, use concrete rather than soil.
Hanging the sunshade
Once the anchors and poles are in place, it’s time to hang the sunshade. Loosely attach each corner to its respective anchor. Using a carabiner will make it easier to take the sunshade down for the winter months. Tighten the turnbuckles by adjusting each one a little bit at a time until the shade is taut. Alternating among turnbuckles as you tighten them distributes the tension evenly and helps prevent damage to the shade.
Hiring a professional installer
If you hire a professional to install your sunshade, verify that they are licensed and insured. A qualified contractor can help ensure the installation meets building requirements and that the sunshade is securely anchored.
If you want to finance a sunshade project, consider a home equity loan or home equity line of credit (HELOC).
 All loans subject to approval. Rates, terms, and conditions are subject to change may vary based on credit worthiness, qualifications and collateral conditions.